Contribution by CAD, UK
Materials:
Paper
Technique:
- Prepare a 27.5cm x 15cm piece of coloured or ornamental paper (no thinner than 100gsm)
- Create a grid with 18 rectangles of 5cm x 4.4cm. (There will be some leftover at the end of the paper)
- Draw two arches per rectangle in the top row using a roll of sticky tape
- Score all lines with a scoring tool or dried out pen and fold along all lines
- Make incisions in the bottom row of rectangles and on the side (leftover paper) cutting out the bottom left rectangle completely
- Apply PVA glue on other two leftover triangles and let it dry
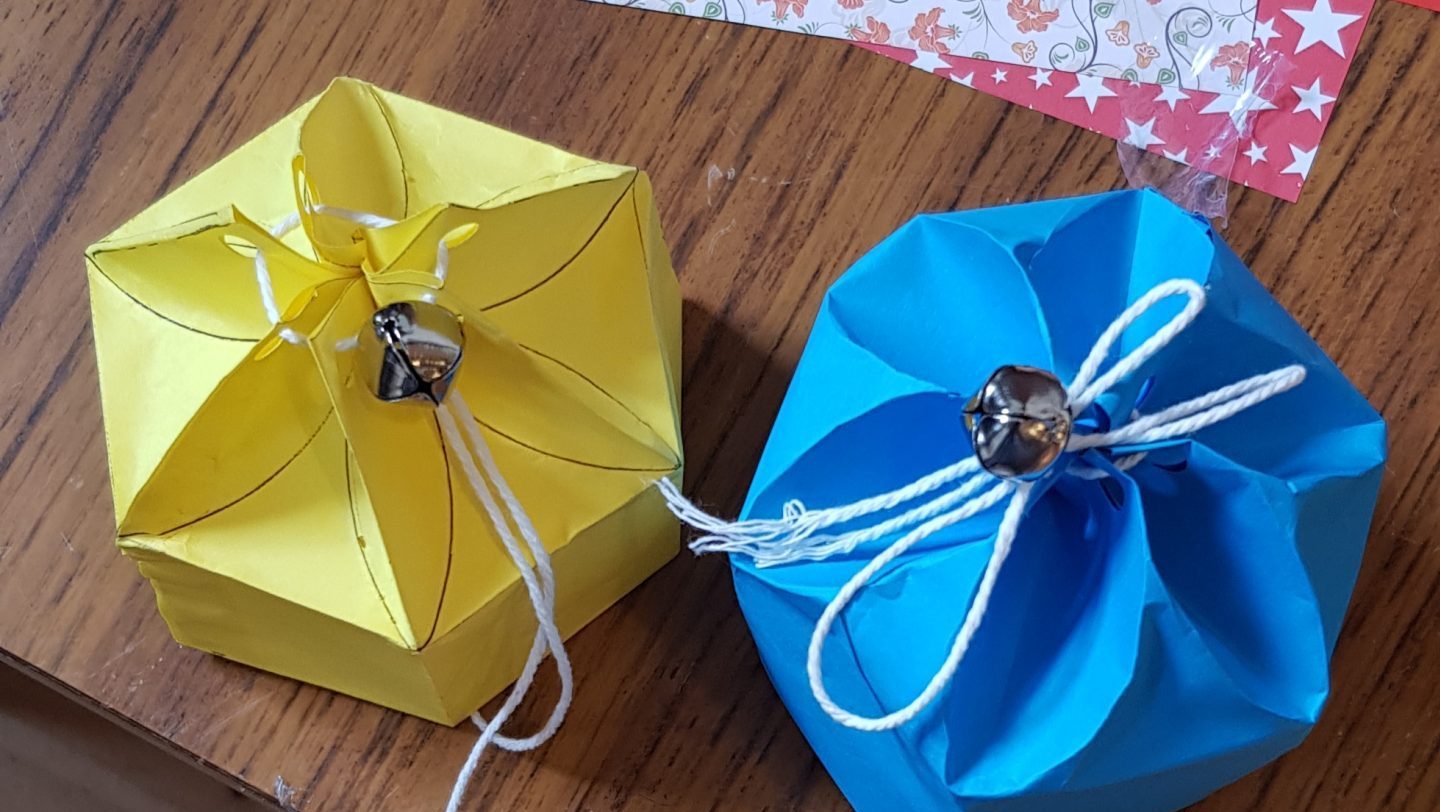
- Fold the lowest rectangles to form the bottom of the box and glue them all together
- Punch holes in the top folds, thread the ribbon or a sting and gather all sides together. You can tie a small bell or a name tag on the gathering string.
“All participants found this craft difficult as it requires a lot of precision and measuring. Some participants had to re-do their boxes a few times. We all had a lot of laugh when things were not going as planned! It was a great way of checking everyone’s manual abilities so I could adjust the difficulty level of crafts planned for future sessions.”
Aneta